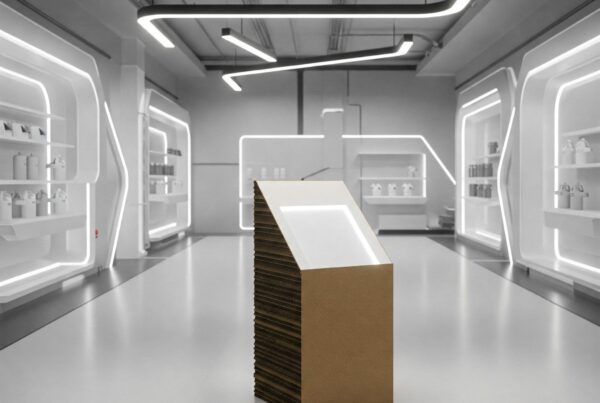
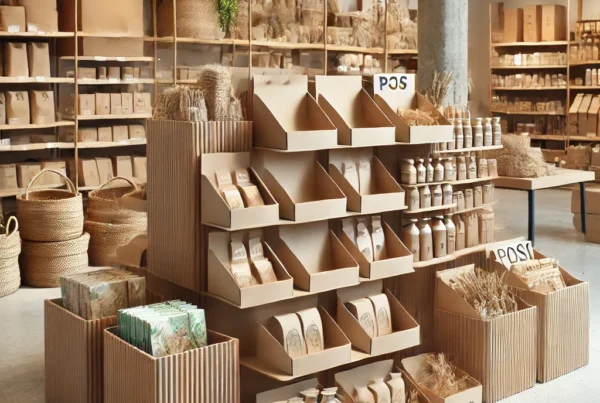
Why Point-of-Sale (POS) Displays Matter
In today’s fast-paced retail landscape, point-of-sale (POS) displays are critical to grabbing customer attention and driving impulse purchases. Whether you’re a brand, retailer, or designer, designing an effective POS display can significantly influence buyer behavior and boost your bottom line.
This guide will walk you through the essential steps to creating a high-converting POS display, complete with practical tips and visual merchandising insights based on industry best practices.
What is a POS Display?
A POS display is a marketing tool placed near the checkout area of a store. It’s designed to attract customers, promote specific products, and encourage last-minute purchases.
POS displays are commonly used for:
-
Product launches
-
Seasonal promotions
-
Cross-selling opportunities
-
Brand storytelling
Step 1: Understand Your Objectives
Before you dive into the design process, define the purpose of your POS display. This will shape every decision moving forward.
Ask Yourself:
-
Is the goal to increase product visibility?
-
Are you promoting a limited-time offer or seasonal campaign?
-
Do you want to educate customers about a product benefit?
By clearly defining your goals, you’ll be able to align your design, messaging, and layout with measurable outcomes.
Step 2: Know Your Audience
An effective POS display speaks directly to the needs and desires of its intended customer.
Consider:
-
Demographics: Age, gender, income level, shopping habits.
-
Buying motivations: Are they price-sensitive, brand-loyal, or trend-focused?
-
Emotional triggers: Convenience, nostalgia, exclusivity?
Tailoring your design to your audience ensures relevance and resonance—two key elements in successful retail marketing.
Step 3: Choose the Right Type of POS Display
There are multiple types of POS displays, and selecting the right format depends on your product, space, and promotional strategy.
Popular POS Display Types:
-
Countertop Displays: Ideal for small items and impulse buys.
-
Floor Stands / Gondola Ends: For large or featured products.
-
Shelf Talkers / Wobblers: Eye-catching and space-saving.
-
Dump Bins: Great for bulk promotional items.
-
Digital POS Displays: Engaging and data-driven.
Each format has pros and cons. Choose one that fits your product size, retail environment, and campaign goals.
Step 4: Focus on Strong Visual Hierarchy
Your display needs to communicate what, why, and how within seconds.
Key Visual Elements:
-
Headline: Clear, benefit-driven, and bold.
-
Imagery: High-resolution product photos or lifestyle visuals.
-
Branding: Consistent with your overall visual identity.
-
Call-to-Action (CTA): “Buy Now,” “Limited Stock,” or “Scan for More Info.”
Use color, typography, and layout to guide the shopper’s eye from top to bottom and highlight your core message.
Step 5: Prioritize Functionality & Practicality
A beautiful display is useless if it’s difficult to set up, unstable, or obstructs the shopping flow.
Design for:
-
Ease of assembly
-
Stability and durability
-
Retail compliance (size, placement rules)
-
Efficient replenishment
Collaborate with store staff or merchandisers to ensure the final display is as practical as it is persuasive.
Step 6: Use Quality Materials and Finishing
Material choice can dramatically affect perceived brand quality.
Considerations:
-
Cardboard and corrugate: Affordable, customizable, and recyclable.
-
Acrylic or metal: Durable and premium-feeling.
-
Sustainable options: Recycled or biodegradable materials appeal to eco-conscious shoppers.
A high-quality finish (UV coating, foil stamping, embossing) can elevate your display and differentiate it from competitors.
Step 7: Incorporate Interactivity or Tech
For enhanced engagement, especially in high-traffic areas, integrate interactive elements like:
-
QR codes for product demos or discounts
-
Touchscreens for personalized recommendations
-
AR (Augmented Reality) experiences for storytelling
Interactive POS displays not only grab attention—they also extend the customer journey beyond the physical store.
Step 8: Test and Optimize
Before rolling out nationally, test your POS display in a few retail locations.
Measure:
-
Sales lift
-
Shopper dwell time
-
Product pick-up rate
Collect feedback from customers and staff. Use these insights to refine your messaging, layout, or materials before mass production.
Step 9: Comply with Retailer Guidelines
Different retailers have different rules around in-store displays.
Make sure to:
-
Follow size and space allocations
-
Use fire-retardant materials if required
-
Ensure compliance with brand safety regulations
Working closely with your retail partners ensures smooth execution and higher acceptance rates.
Step 10: Track Performance and ROI
Post-deployment, track the performance of your POS display.
Key KPIs:
-
Units sold per store per week
-
In-store engagement metrics
-
ROI versus cost of production
Use these insights for future display campaigns and build a database of learnings that improves your merchandising over time.
Pro Tips for Designing a Winning POS Display
✅ Keep messaging simple — less is more.
✅ Use color psychology — red for urgency, green for health, etc.
✅ Show the product in use — real-life context increases desirability.
✅ Add urgency or scarcity — “Only 5 left!” drives action.
✅ Include sustainability messaging if using eco-friendly materials.
Designing a POS Display That Sells
Designing an effective POS display is both an art and a science. By following this step-by-step guide—from defining objectives to tracking ROI—you’ll create displays that not only look great but drive measurable results.
Whether you’re launching a new product or refreshing your retail presence, investing in smart POS design is one of the most cost-effective ways to increase brand visibility and boost sales where it matters most: at the point of purchase.
Ready to develop your POS display?
Let us help you achieve your goal. Contact our POS design team →


